Installing Duro-Last Roofing Systems
Before you get rolling with
installing a Duro-Last roof, getting the roof ready is a first and super important step. Think of it like this: a well-prepared surface is like laying a solid groundwork for a building—it’s gonna support everything that comes after.
Importance of Proper Roof Preparation
Starting with a clean slate is key. You gotta make sure all the old dirt and leftovers from the past roof are completely gone. It’s kinda like wiping the slate clean when you start a new project or fresh start. Fixing any damaged spots and having a smooth surface is just the thing to do to avoid headaches during installation.
And hey, keeping the roof dry matters. Water and adhesives? They’re not friends. You want that roofing system to stay put—moisture’s like the sabotage artist you wanna avoid for a solid, long-lasting roof.
Cutting and Measuring the Duro-Last Membrane
When it comes to sizing up and cutting the Duro-Last membrane, you really need to get it right. Accurate measurements mean everything. Whether it’s your new trousers or a roof membrane, things need to fit right. No gaps or overlaps here—that’s just sloppy. Tools built for precision help line up the membrane to fit like a dream.
Custom-fab is the game-changer here, making things smoother and faster. When pieces are made to order and pre-seamed (up to 85% done before they even get to you), it means less on-site hassle (
Duro-Last). This method makes for a quicker install and seals any tricky spots, keeping leaks at bay and boosting the roof’s resilience.
In short, when you prep the roof right, measure like a perfectionist, and use those custom pieces, you’re not just slapping on a roof; you’re crafting something that lasts ages. That’s why big commercial building owners and managers tip their hats to these methods for both the smooth experience and the durability they deliver.
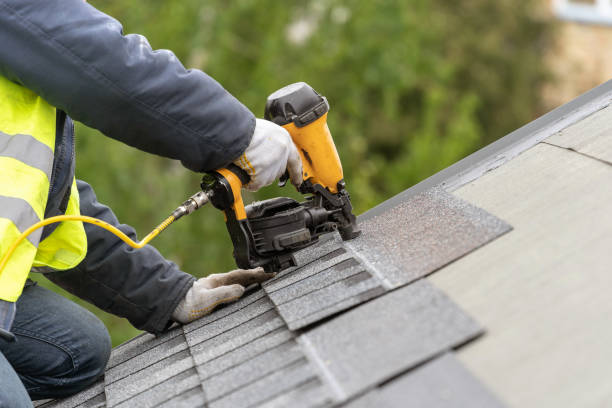
Okay, so you’re ready to tackle a Duro-Last roof installation. First things first: grab the right gear. These tools are your trusty sidekicks, helping you breeze through the process while keeping that roof in top shape for years. So, let’s dig into what’s needed for a smooth job.
- Leister® Triac St Heat Gun Kit with Nozzle: Think of this as your magic wand. You’ll need it to weld those Duro-Last membranes, making sure everything’s sealed up nice and tight, like a cozy winter jacket on a cold day.
- 2″ Ergonomic Silicone Roller: This little gem is your go-to for pressing down the membrane. It doesn’t just give you a workout—it’s key to getting a slick, even surface. No bubbles here!
- Quick-Pull®: Double up on these babies. They make laying down custom-fabricated roofs a breeze, like using the perfect spatula for flipping pancakes. Fast and efficient, you’ll be done in no time.
Recommended Equipment for Ensuring Quality Installation
- BAK RiOn Laron Walker Welder: When you’re on seam duty, trust this welder to hold the fort. It’s precise and solid, like when a jigsaw puzzle just clicks into place.
- Powerblanket Tote Heater: Just like a cozy blanket keeps you snug, this heater makes sure your adhesives and membranes stay warm enough to bond properly. No chilly surprises here!
- Smart Ladder Rest™: Ever tried balancing on a sketchy ladder? Make life easier with this platform that keeps you safe while you’re high up there doing your thing.
- Pull-Out Tester by Com-Ten: Don’t just finish the job—prove you’ve nailed it. This tool checks your seams for strength, giving you peace of mind that everything meets the grade.
- Core Cutter: Curious about what’s under the hood? Use this to take samples from your roofing materials, helping you make sure that everything’s up to spec and top-notch.
- Rhinobond with Optiweld® Technology: For those who hate wrestling with tools, here’s a slick way to install using induction welding. It’s like having autopilot on your install—fast, simple, and spot on.
Duro-Last doesn’t just leave you hanging—they’ve got a ton of tools to make your job a cakewalk. With the right tools and equipment at your side, you’re set to pull off a roofing masterpiece that’s both durable and top-tier in quality. Happy roofing!